You have guests arriving next week, but the house needs to be fixed. Wherever you look, there’s a random piece of clothing, toy, or paper.
A declutter is in order, but you’re unsure how to start with how overwhelming the mess is. Fortunately, it doesn’t have to be.
Stick around to learn more about decluttering your house in one day.

Steps to Declutter Your House in One Day
Starting somewhere will push you to declutter your home in a single day. All you need is a plan, supplies, motivation, and some fun tunes to kickstart your busy day.
Step 1: Plan Your Day
The first thing you’ll want to do is be free an entire day. Now, you could do it on a weekend day if you’re working or a weekday if you have kids going to school in the morning.
After scheduling the day, it’s time to plan which areas you’ll target. You can start with the entryway until you reach the bedrooms.
Alternatively, you can implement a different decluttering method that allows you to start by category. For instance, you can start with clothes, toys, paperwork, etc.
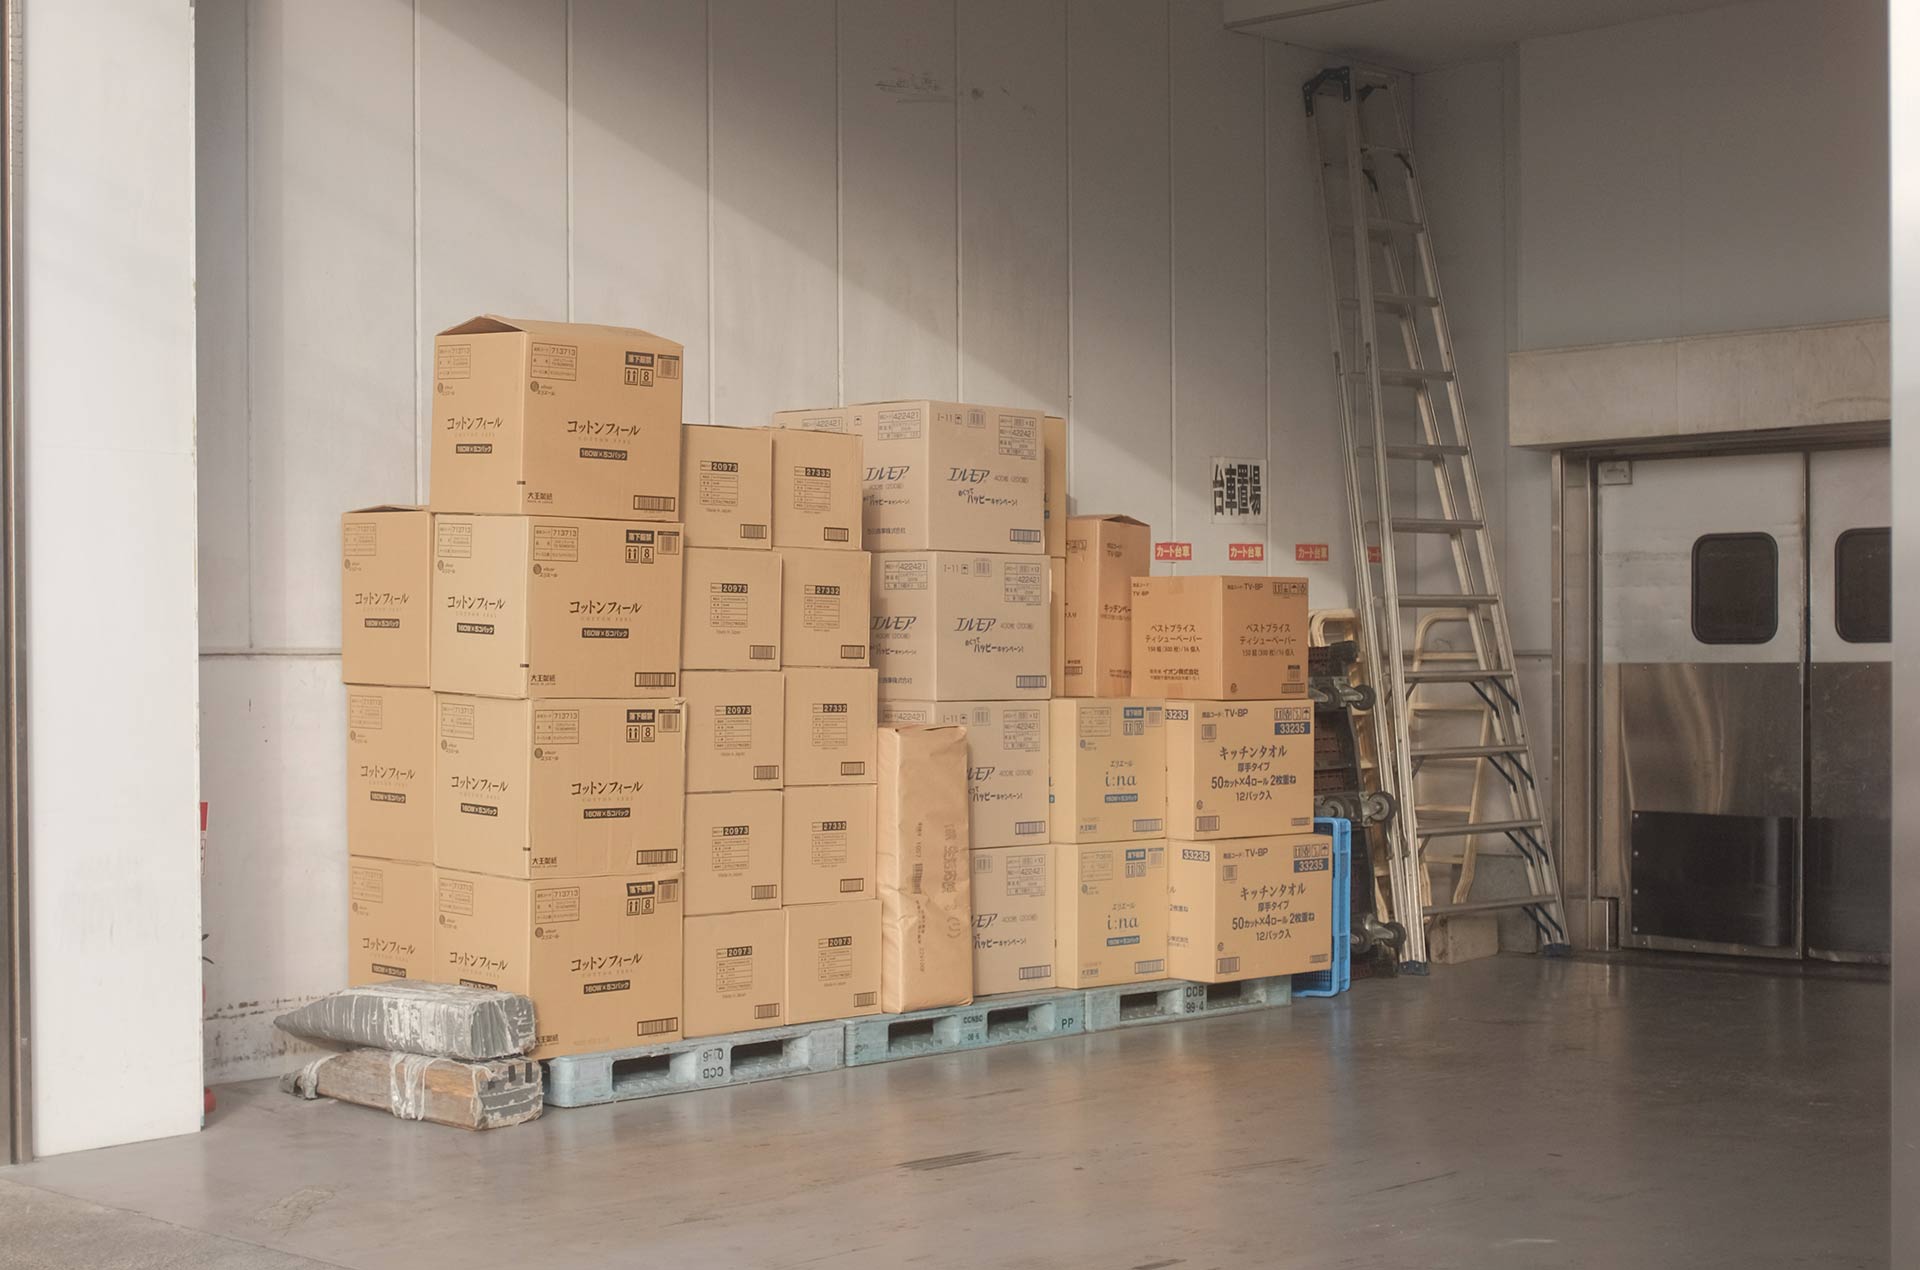
You’ll also want to prepare your decluttering supplies. That can include boxes, compartments, garbage bags, and a cloth to wipe off dust as you go.
As you’re organising everything, labels can also prove exceptionally useful. You can get separate boxes and label them with items to sell, donate, keep, recycle, throw out, or need fixing.
Step 2: Go to the Entryway
When you enter your home, you and others living with you may have a habit of dropping things, whether clothing items, random papers, or other miscellaneous items.
To tidy the entryway, you’ll need to create a system of where everything goes. It can be a bowl to hold the keys and wallets. Consider a rack to hang jackets, scarves, and hats. Go a step further and label each hook with the names of every resident.
When it comes to shoes, investing in a shoe rack would be your best bet. On the other hand, you can ban shoes from staying in the entryway altogether.
Once you’ve placed everything where it should be, you can grab a broom to sweep up any excess dust or pet hair.
Step 3: Move On to the Pantry
We’ve all been guilty of cramming containers, pots, plates, canned foods, or pans in our pantry and closing them, hoping they don’t fall out later. Well, it’s time to pull everything out and restart.
In this case, large containers will save you lots of time. Separate the kitchen cookware and bakeware in these labelled compartments. Generally, keep the items you use frequently within easier reach.
Otherwise, you’ll have to dig through each box and make another cluttered mess. Aside from that, organise the food items into a different container. You can categorise the items based on these labels:
- Pastas
- Canned Foods
- Cereals
- Grains
- Spices
Step 4: Kitchen Clean Up
After ticking off the pantries on your to-do list, decluttering your kitchen will become much more manageable. You can start with the refrigerator. Take everything out and discard any expired foods while you’re at it.
Wipe out any spills or stains and decide on an organisational system. It could go as follows:
- Condiments, juices, and other liquids on the door
- Milk and meat products on the bottom shelf
- Other dairy products and eggs on the upper shelf
- Fruits and vegetables in the crisper drawer
Once the fridge is clean, look elsewhere. Clean any remaining dirty dishes and ensure all surfaces are wiped. Plus, don’t forget to take out the garbage.
Step 5: Declutter the Bathrooms
Bathrooms are more straightforward to declutter since you’ll want to focus more on the cabinets and vanity.
Prepare a garbage bag and take out any expired products. Remove all the items from the vanity and cabinets to wipe the surface thoroughly.
Rearrange your products using labelled plastic compartments. You can separate them by makeup, skincare, haircare, medicine, and grooming items.
Once cleared, remove the garbage, replace your dirty towels, and add a toilet paper roll if needed.
Step 6: Go to the Bedrooms
Bedrooms are typically the most daunting rooms to declutter. Clothes are likely strewn everywhere, jewellery and makeup scattered on your vanity, and clothing racks thrown about.
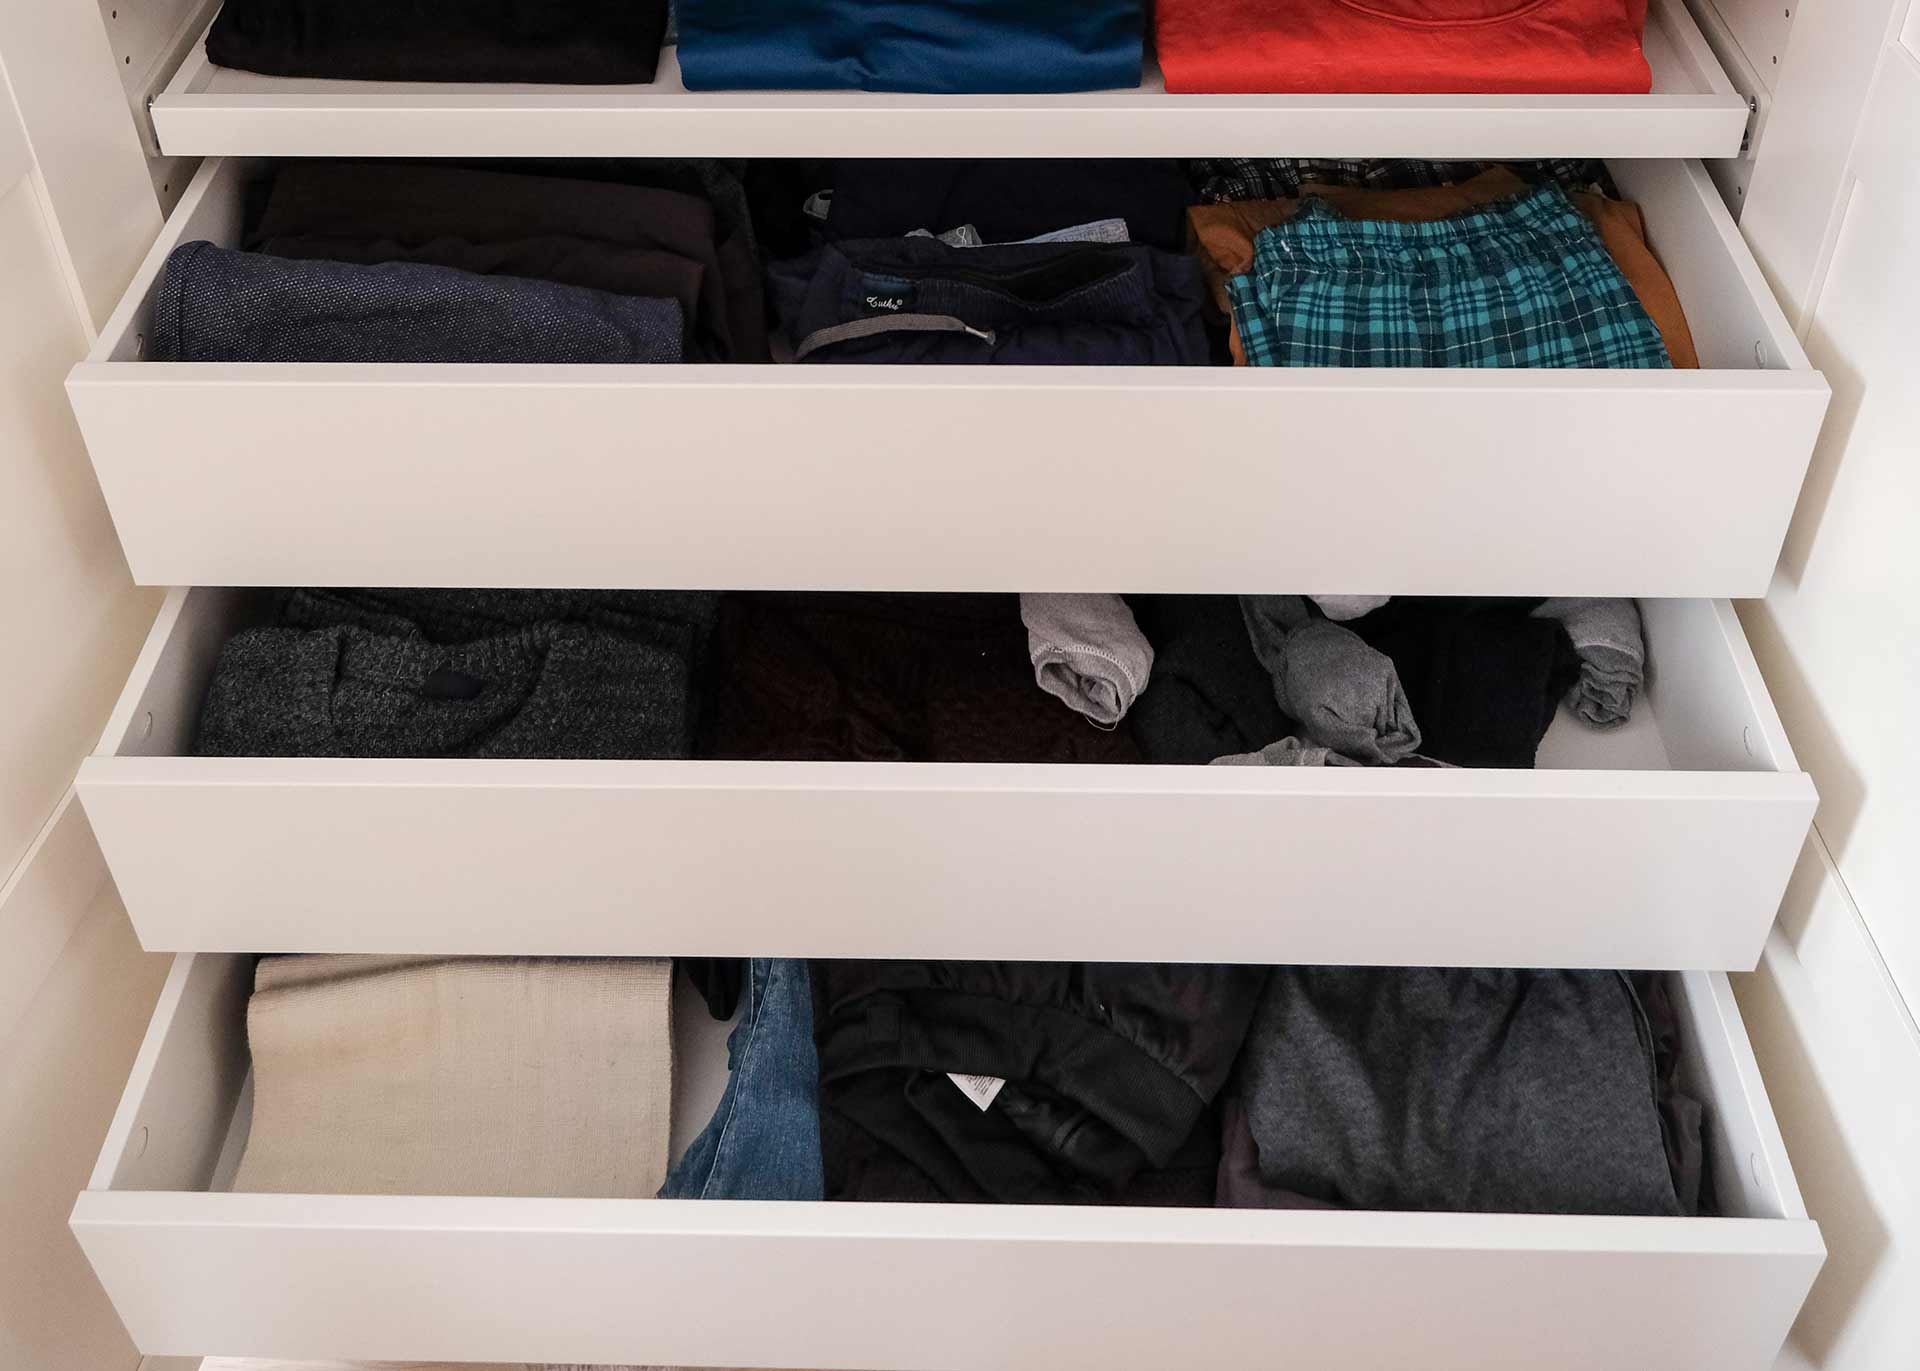
Now, you can ease the process by dividing the tasks. You can start with the most visually stressful, the clothes.
Get labelled boxes and place the items accordingly, whether they go in the donation, keep, or throw out boxes.
Now, you can take a breather since the most challenging task is done. Afterwards, go to your vanity and sort your jewellery, cosmetics, and other items.
Take them all out, wipe the surface with a microfiber towel and place everything back in. Like the kitchen pantry, keep the items you use most within reach.
That way, all your organisational effort won’t go to waste after digging for that pink lipstick. Lastly, change your bedsheets and pillowcases.
Step 7: Go Through the Storage Spaces
By now, you’re almost at the finish line. You’ll want to go through the hallway closet and other storage spaces.
It is where your labelled bins and bags will be most useful. Categorise all your items into options like cleaning supplies and stationery items.
Take out anything that you need to donate or throw out. Make sure to wipe the closet when removing the items.
Final Thoughts
How can you declutter your house in one day? Well, all it primarily takes is a plan and organisational supplies.
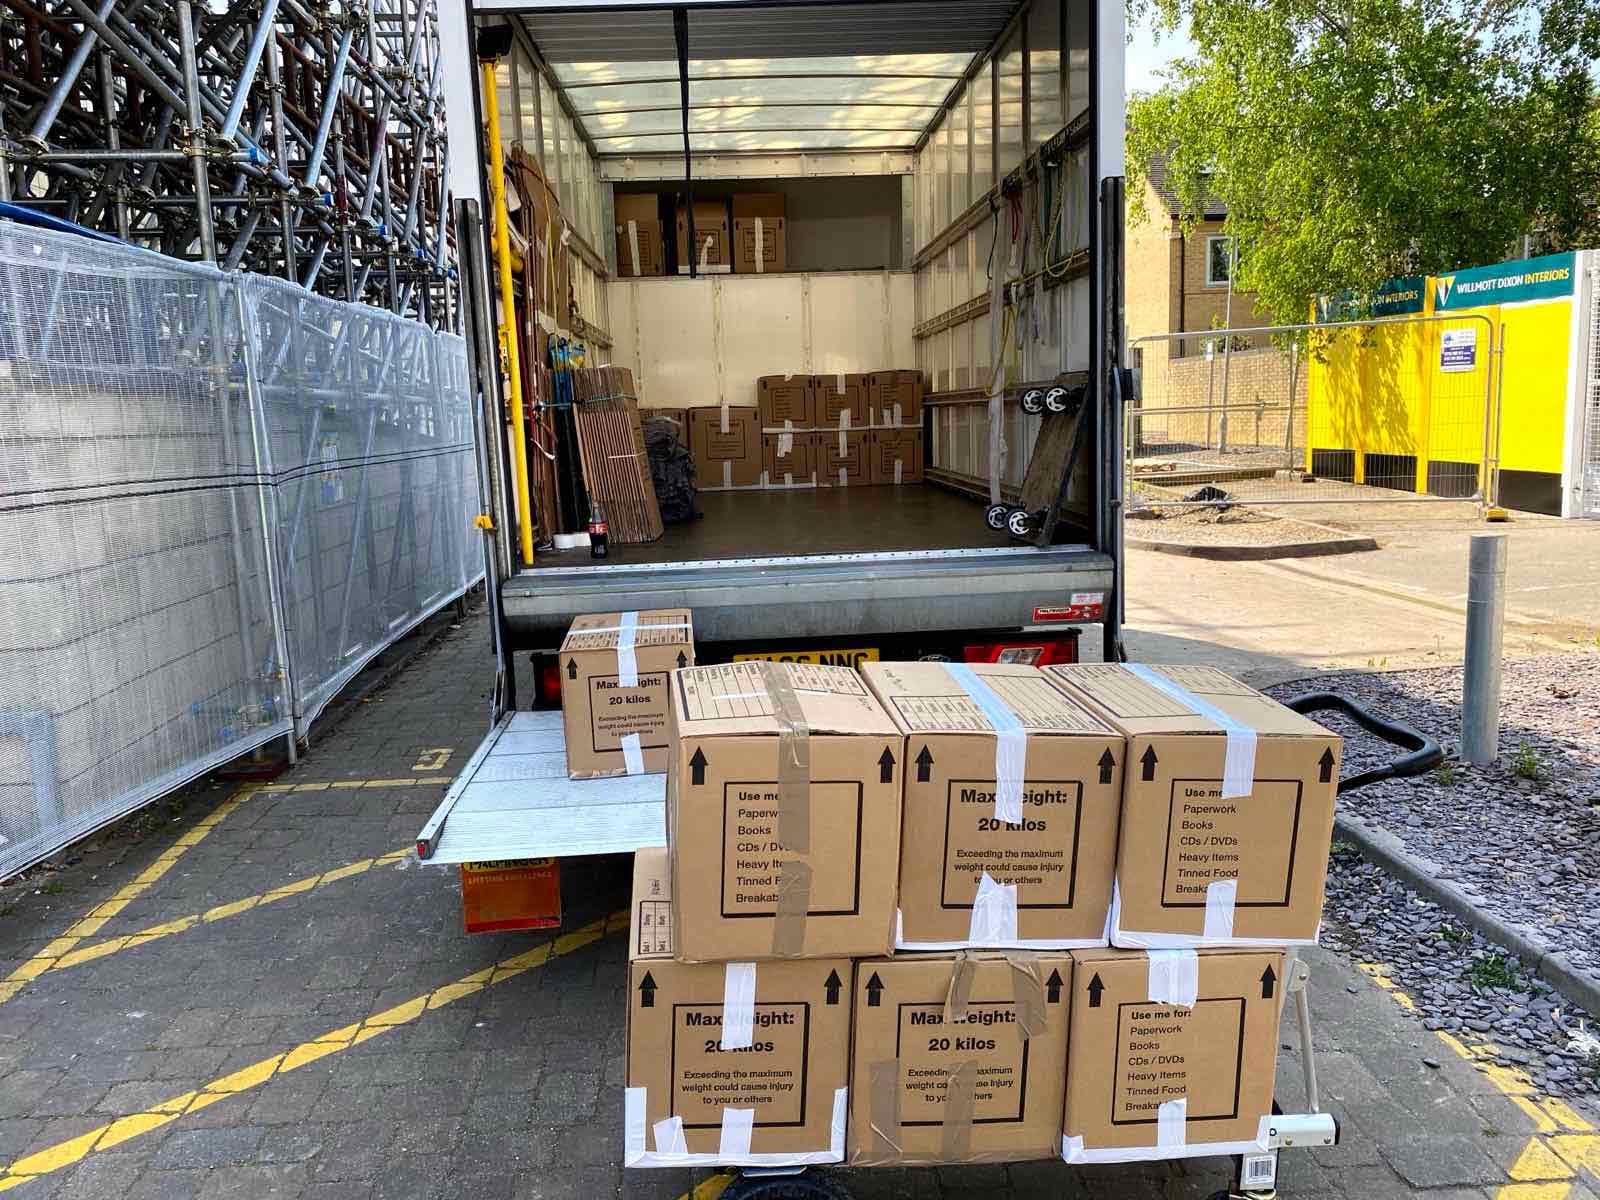
You can always use a house removal company if the waste or boxes you have to throw away or move somewhere else are heavy.
Keeping your house decluttered isn’t just about having a clean, mess-free home but also de-stressing from visual clutter.
Besides that, we suggest scheduling a day per two weeks or month when you can declutter your home to lessen the load.